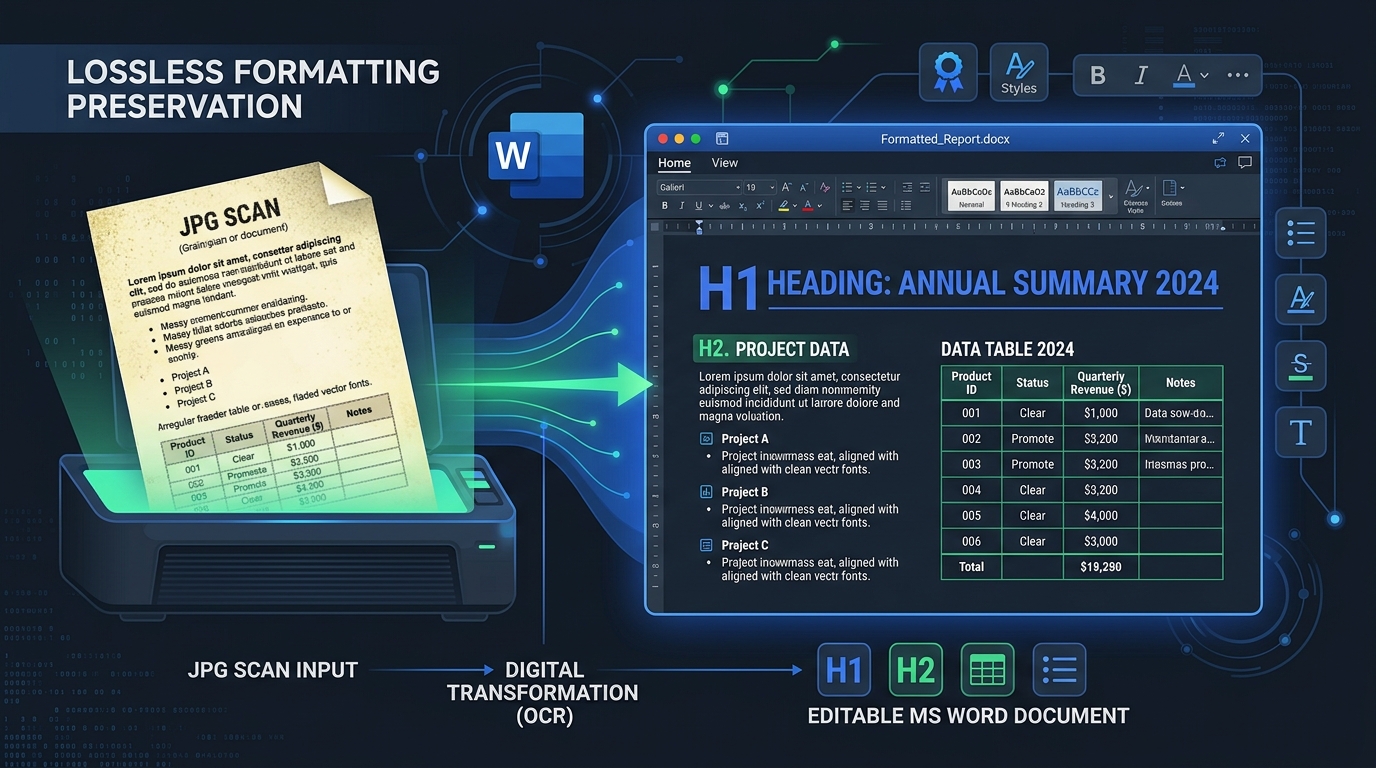
You've scanned a document, and now you need it back in Word, looking as close to the original as possible. This is one of the trickiest parts of JPG to Word conversion, since formatting preservation depends on far more than just accurate text recognition. This guide walks through practical techniques for minimizing formatting loss, from preparing your image correctly to cleaning up the final document efficiently.
What Makes Formatting Preservation Difficult in JPG-to-Word Conversion?
A JPG carries no inherent structural information. OCR software must infer everything, from paragraph boundaries to table cells, purely from visual patterns like spacing and alignment cues within the image itself.
This inference process works reasonably well for simple documents but struggles considerably with complex layouts. Multi-column pages, nested tables, and mixed fonts all increase the difficulty of accurately reconstructing the original document structure.
How to Prepare a JPG Before Running OCR
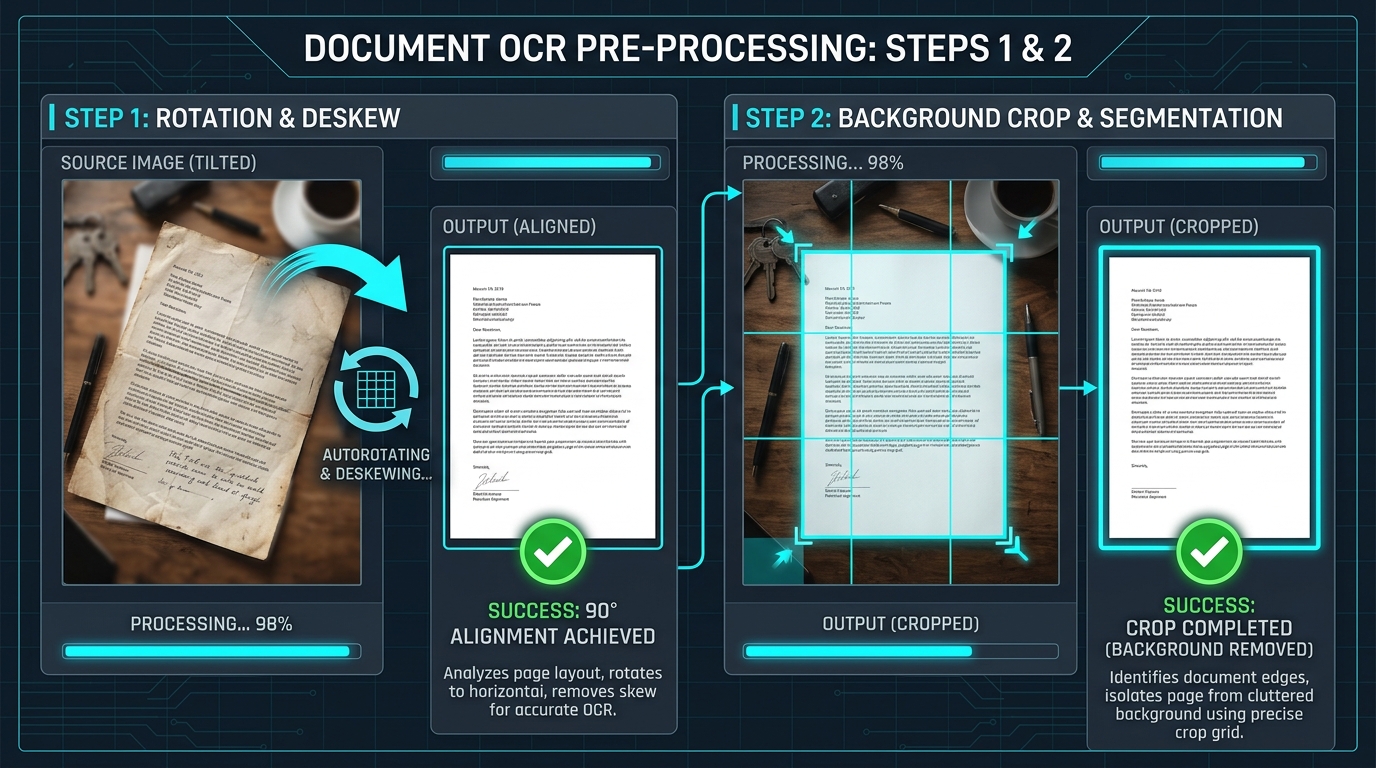
Cropping unnecessary background out of your photo before conversion significantly improves results. Extra space around the actual document content can confuse the software's layout detection algorithms.
Straightening a tilted image also matters enormously. Even a slight skew, barely noticeable to the human eye, can throw off character recognition and misalign entire lines of text during the conversion process.
Why High-Resolution Images Produce Better Document Structure
Higher resolution gives the OCR engine more visual data to analyze, making it easier to distinguish between similar characters and correctly identify spacing patterns that indicate paragraph breaks or column boundaries.
| Resolution | Structure Recognition Quality |
|---|---|
| Under 150 DPI | Poor, frequent misalignment |
| 150–300 DPI | Good, occasional issues |
| 300+ DPI | Excellent, minimal errors |
Whenever possible, scan or photograph at the highest resolution your device supports.
How to Keep Headings, Paragraphs, and Spacing Organized
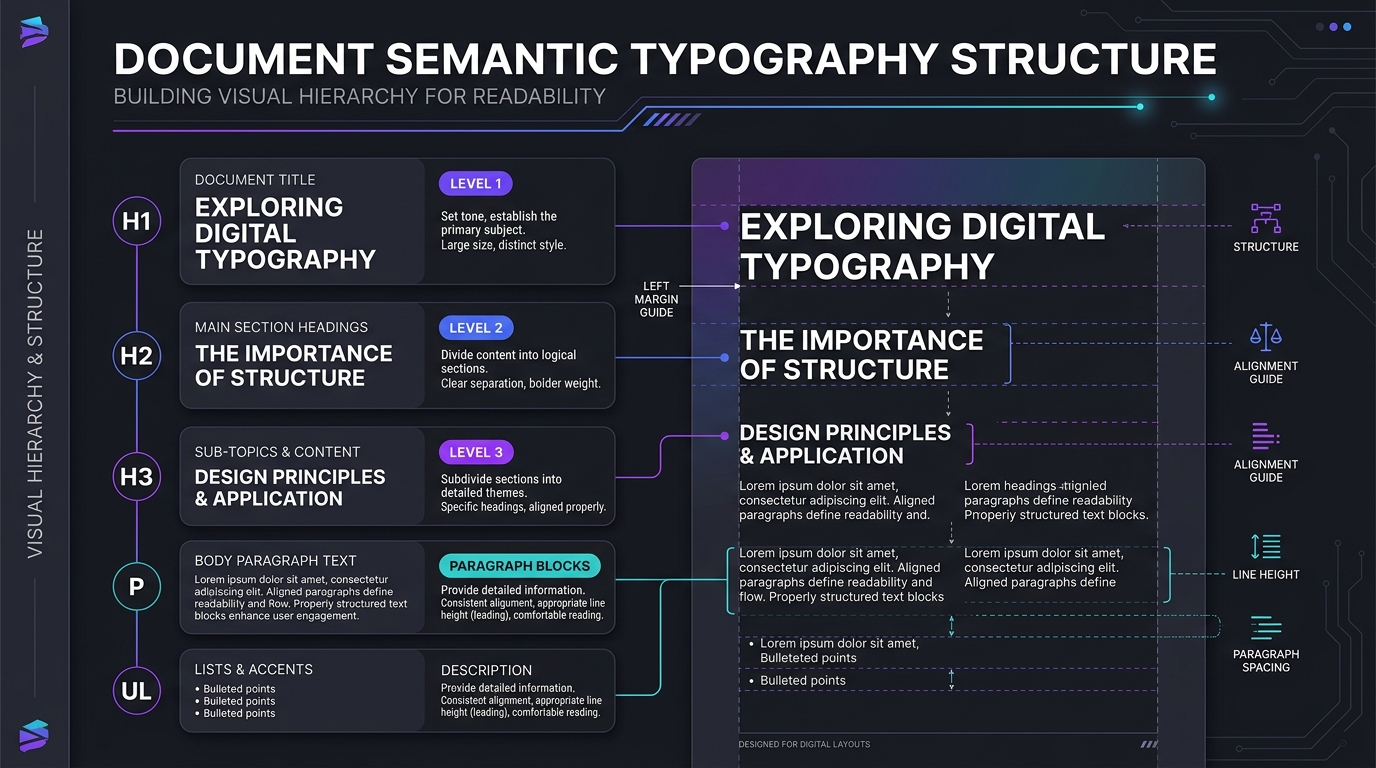
Headings typically use larger or bolder text than body content, which most OCR engines can detect through visual contrast alone. This size difference helps the software correctly tag headings as distinct structural elements.
Consistent paragraph spacing in your original document also translates more reliably into the converted file. Documents with erratic, inconsistent spacing tend to confuse the software's paragraph-detection logic more frequently.
How OCR Handles Tables and Multi-Column Pages
Tables with visible gridlines convert far more reliably than borderless ones, since the software can directly detect cell boundaries rather than inferring them from whitespace alone.
Multi-column newspaper-style layouts present a genuine challenge. The software must correctly determine reading order, left column first, then right, rather than accidentally merging text from both columns into a single, jumbled paragraph.
What to Do With Logos, Photos, and Other Visual Elements
Non-text visual elements generally get preserved as separate embedded images within the converted document, rather than being run through character recognition themselves.
After conversion, check that these elements landed in sensible positions relative to surrounding text. Manually repositioning a stray logo or photo takes just a moment but noticeably improves the final document's appearance.
How to Correct Text Alignment After Conversion
Select any misaligned paragraphs and apply consistent alignment settings, whether left-aligned, centered, or justified, matching your original document's style throughout.
Word's ruler and paragraph settings make quick alignment fixes straightforward. This step often resolves the majority of visible formatting inconsistencies without requiring extensive manual retyping or restructuring.
How to Compare the Word Output With the Original JPG
Keep both files open side by side during your review process. Work through the document systematically, checking each paragraph and table against the source image for accuracy and structural fidelity.
Pay particular attention to numbers, proper names, and technical terminology, since these details are exactly where OCR engines most frequently introduce subtle, easy-to-miss errors.
When Manual Formatting Is Still Necessary
Complex layouts, decorative fonts, and heavily stylized documents will likely always require some manual formatting work after conversion. No current OCR technology perfectly replicates every design choice automatically.
Budget realistic time for this cleanup step, especially for professional documents. Treating the OCR output as a strong starting draft, rather than a finished product, leads to better outcomes and less frustration overall.
Conclusion: Getting a Cleaner Word Document From a JPG
Minimizing formatting loss during JPG to Word conversion starts with a clean, high-resolution source image and continues through careful post-conversion review. While perfect preservation isn't always realistic, following these steps consistently produces noticeably better, more usable results.